
Page navigation is very essential in React applications and the is a package that allows us to easily route or navigate to other pages in react applications is React Router . In this article, we will discuss how to set up React Router version 6
Prerequisites
- Basic understanding of what components are in React
- Visual Studio Code
- Nodejs
React Js
ReactJs is an open-source front-end JavaScript library for building user interfaces based on components. Although React is a library rather than a framework, it is widely used in web development. React is use for creating Single Page Application (SPA).
Install create-react-app Node Package
create-react-app node package helps to set up a React project. First of all, Install create-react-app node package globally with the command below:
npm install -g create-react-appHow to Create React App
To create React project, you should have node installed on your machine. However, if you do not have node installed, download it from nodejs.org and install it.
Run the command below in your terminal to create your new React project.
npx create-react-app clientIn our case, client is the name of our React project. Run cd client to move into your client folder and run npm start to start your application.
If you are using yarn then use this command: yarn start to start your application.
How to Install React Router
Install React Router with npm or yarn by running the command below in the client project directory and then wait for the installation to complete.
# yarn
yarn add react-router-dom@6
# npm
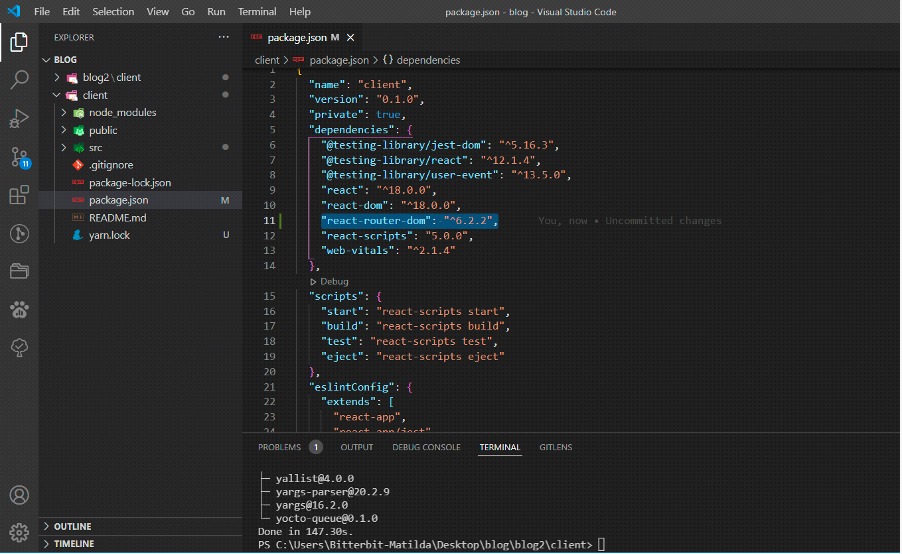
npm install react-router-dom@6Your package.json file should now have React Router as part of the dependencies collection indicating successful installation.
How to Set Up React Router
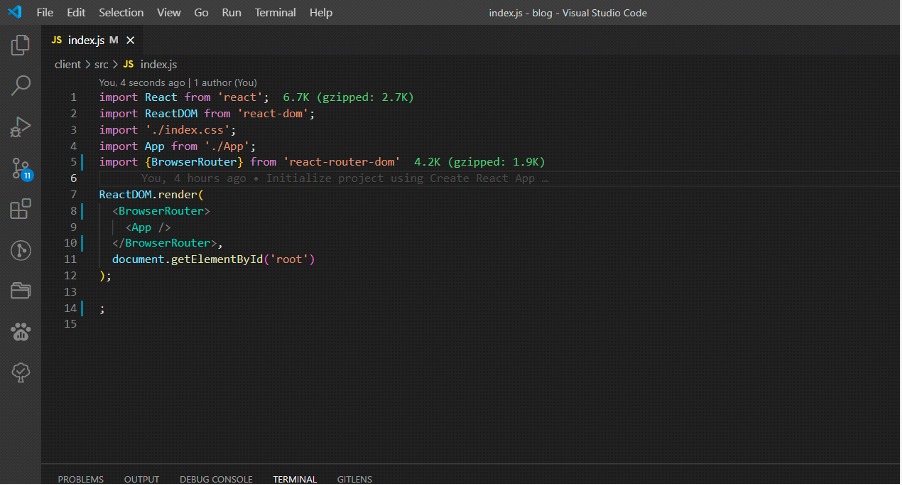
Since index.js file is the parent component that render our react application, you will have to make React Router available anywhere in your app by importing BrowserRouter.
Edit the index.js file and replace React.StrictMode with BrowserRouter
Your index.js file should look like this after importing BrowserRouter
Steps for Routing to Other Components
Now that we are done setting up our react router, the next thing to do is look at routing to and rendering different components.
Step 1 – Create multiple components
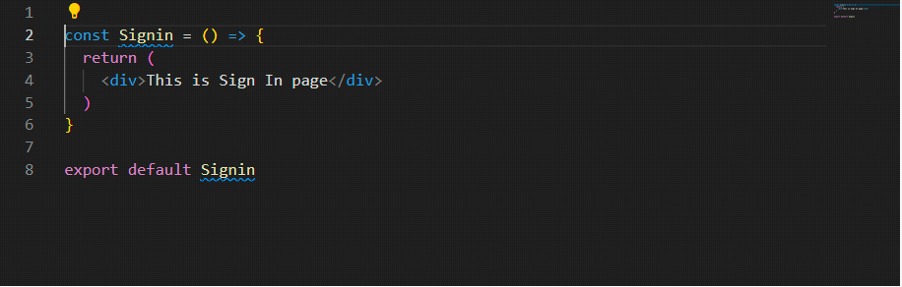
You can create multiple components as much as you can. In the case of this tutorial, we’ll create the following components inside our src folder; Home, Signin, Signup and Contact like this;
Signin Component
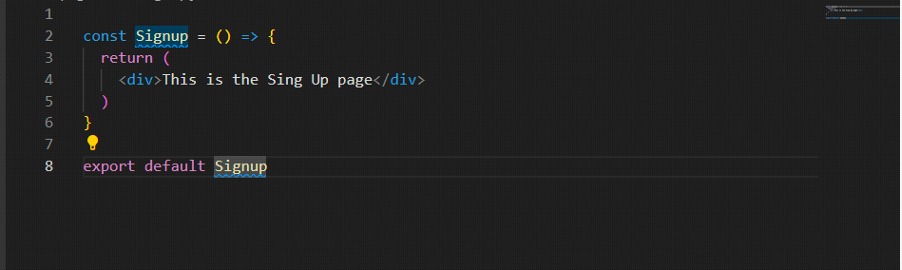
Signup Component
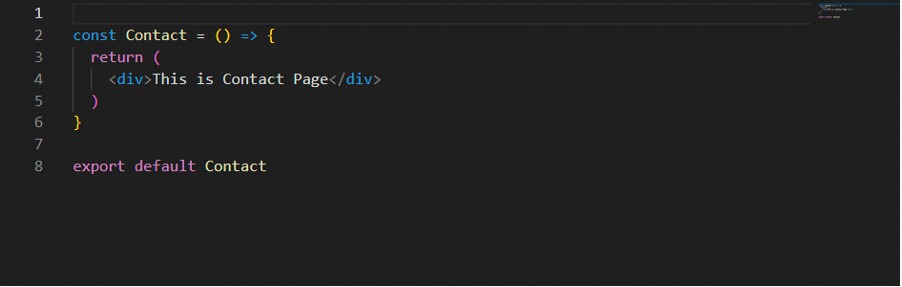
Contact Component
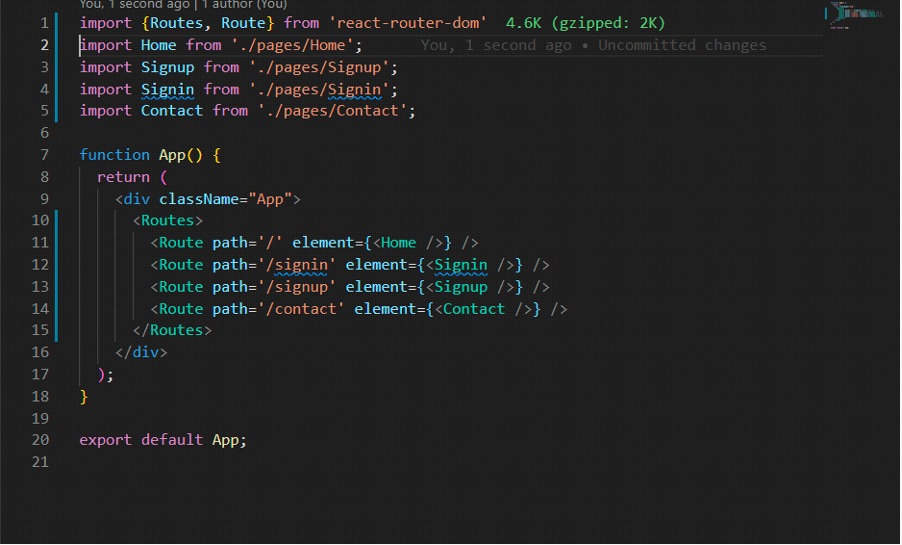
Step 2 – Define routes and routing elements
In order to create route, import Routes, Route and the components created earlier into the App.js file and create the routes.
Your App.js file should look like this;
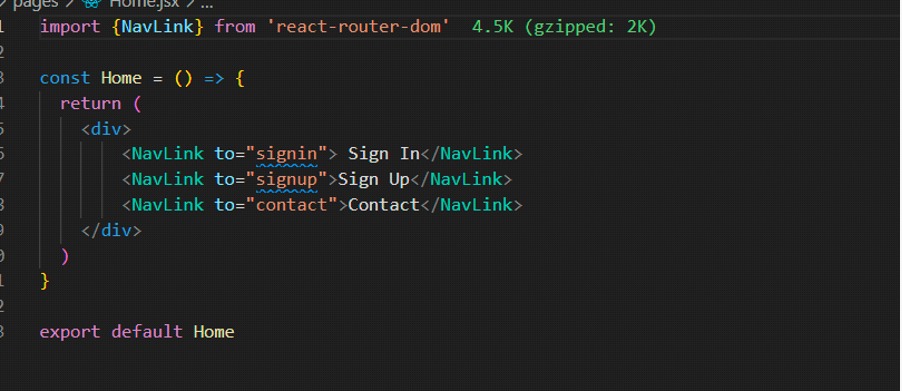
Step 3 – Provide link for Navigation
We will use NavLink which is a React Router feature to provide navigation to other pages based on those routes and pathnames we created in the App component.
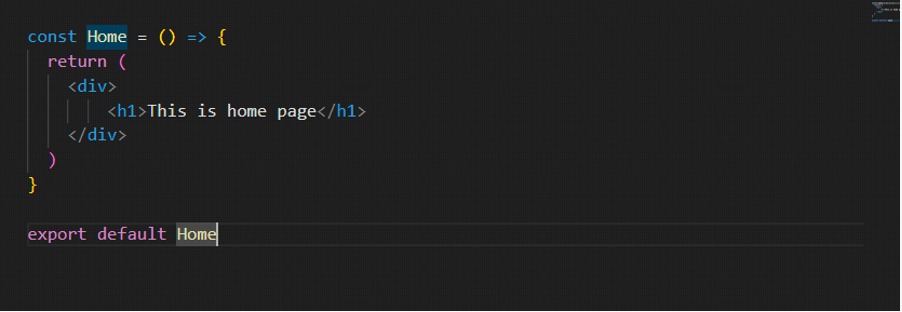
In the case of this tutorial, we will use our Home component as the base component to provide navigation for routing to other pages.
In your Home component, import NavLink from react-router-dom.
This is how your Home component should look like
Terminologies
Routes acts as a container for all the individual routes that will be created in our app.
Route is used to create a single route and it takes in two attributes element and path
element this specifies the component the route should render.
path this also specifies the URL path of the desired component. You can call this pathname whatever you want.
to attribute specifies which path the link takes you to.
Conclusion
In conclusion, we learnt how to install nodejs, create-react-app globally and react-router-dom, we also learnt how to set up and use the basic features of React Router to navigate to different pages in our React app.
Linkedln profile: https://www.linkedin.com/in/matilda-kpolley/
twitter handle: @Tilly_Web1
Leave a Reply